Table of Contents
Rooting the Doogee X93 Android Phone
![]()
![]()
![]()
![]()
![]()
| | Good price: 86 € at March 2022. Android 10. 4350 mAh Battery. Easy rooting. |
| | Limited to 3G telephony. Outdated screen resolution 600×1280. Notification LED does not exists. Battery optimization too much aggressive: widgets and apps are stopped. |
The Doogee X93 smartphone is a cheap Android phone, priced at about 86 € in March 2022.
| RAM | 2 Gb |
|---|---|
| Flash storage | 16 Gb |
| CPU/GPU | MT6580 Quad Core 1.30 GHz - ARM Mali-400 MP2 500 MHz |
| Display | 600 x 1280 pixels, 6.1 inches |
| Telephony | 3G |
| Battery | 4350mAh non removable |
| Slots | 2 x Nano SIM, 1 x Micro SD |
| Android version | 10 |
| Build number | DOOGEE-X93-Android 10.0-20210902 |
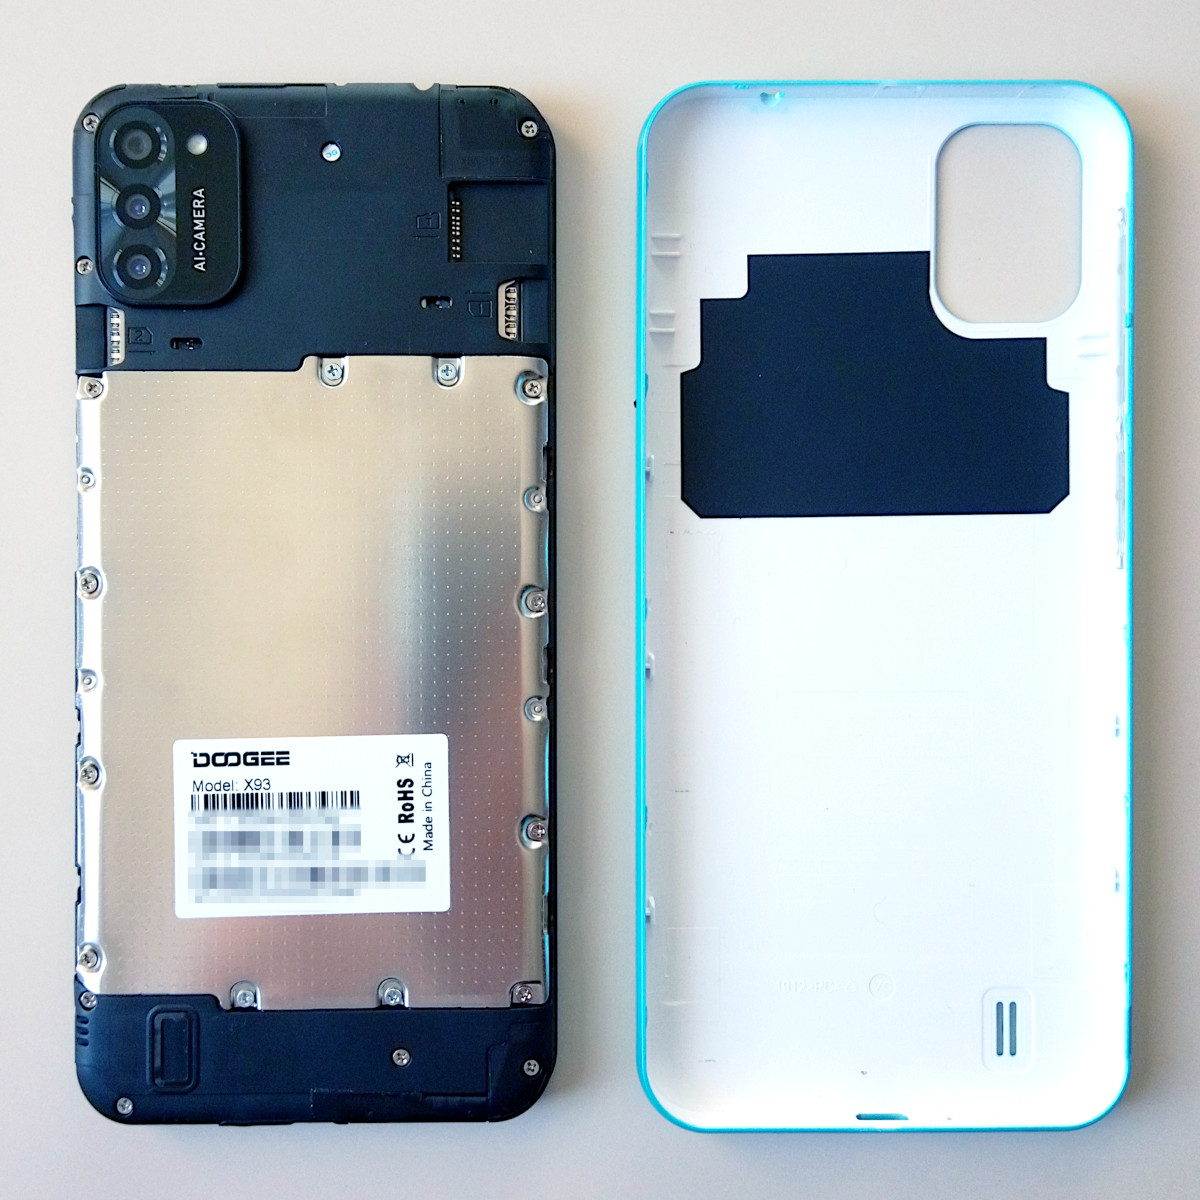 The rooting process is the one common to many smartphones based on the MediaTek chips. It requires the adb and fastboot command line tools (on the PC), the SP Flash Tool program (on the PC too) and the Magisk Android app. Basically it requires four steps:
- Unlock the bootloader (implies a factory reset).
- Readback the boot and vbmeta partitions using SP Flash Tool v5 and the MT6580_Android_scatter-doogee-x93.txt scatter file.
- Install Magisk on the phone and patch the boot.img file.
- Flash the patched boot.img and re-flash vbmeta.img with verity disabled.
WARNING: Once rooted the phone is not longer able to receive OTA upgrades (On The Air), because the check over the boot partition will fail. To allow the phone to install the OTA upgrade, you have to un-root the phone flashing back the original boot.img and vbmeta.img, using SP Flash Tool.
Unlock the bootloader
The process requires that you enable the hidden Developer options: OEM unlocking and USB debugging. Then you will be able to unlock the bootloader in fastboot mode.
Developer options
- Settings ⇒ About phone ⇒ Build number (tap 7 times)
- Settings ⇒ System ⇒ Advanced ⇒ Developer options
- OEM unlocking (ON)
- USB debugging (ON)
Unlocking via fastboot
Connect the phone to the PC using the USB cable, all the commands are executed on the PC command line using the adb and fastboot tools.
Reboot the phone from normal system into fastboot mode:
adb reboot bootloader
In fastboot mode, check if the unlock ability is available and the unlock the device:
fastboot flashing get_unlock_ability
(bootloader) unlock_ability = 16777216
fastboot flashing unlock_critical
Once confirmed the warning screen, the phone will perform a factory reset and reboot. Remember to enable again the Developer options.
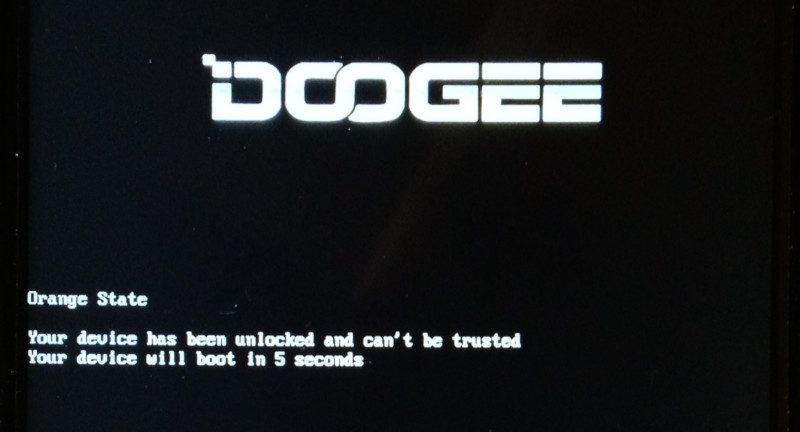
Once the bootloader is unlocked, an Orange State Warning is displayed at every bootstrap. This modifications is not reversible:
Readback the boot.img and vbmeta.img partitions
Install the SP Flash Tool v5. Notice that version 5 uses the scatter file to know about partitions names, addresses and sizes, whereas the newer version 6 requires an XML file, which I don't have for the Doogee X93. I used version 5.2152 for Linux, version 5.1916 does not run on my Debian 11 Bullseye, due some missing library.
Start the program, from the Download tab, click the Choose botton along the Scatter-loading File and read the scatter file MT6580_Android_scatter-doogee-x93.txt. I found the scatter file inside an archive of the ROM image, downloaded from an unofficial page (WARNING: Do not trust any unofficial software found on the net!).
From the Readback tab, click the Add button, then enter the filename, region, start address and length. Repeat the add action for boot and vbmeta partitions. You can get the required data from the scatter file:
| Filename | Region | Start Address | Length |
|---|---|---|---|
| boot.img | EMMC_USER | 0x4dc0000 | 0x1000000 |
| vbmeta.img | EMMC_USER | 0x7e40000 | 0x800000 |
With the phone powered off and disconnected, click the Read Back button and then connect the USB cable to the PC. The two files will be saved into the PC.
Patch the boot.img partition
Reboot the phone in standard mode and upload the Magisk app and the boot.img file to the phone memory, using the adb tool:
adb push Magisk-v24.2.apk /sdcard/Download
adb push boot.img /sdcard/Download

Using the phone file manager, install the Magisk app and run it.
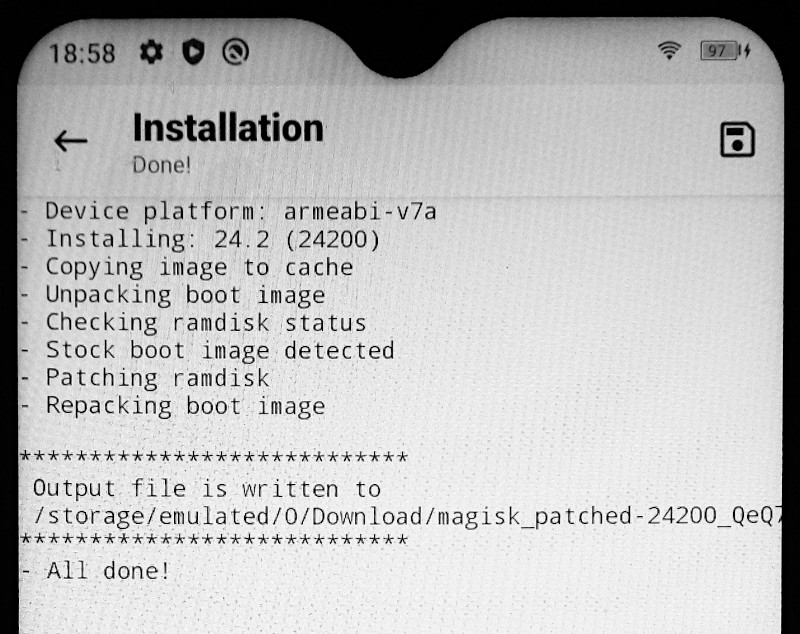 Into the upper Magisk box, tap the Install icon. You can read the install instructions. Remember that the Doogee X93 phone:
- Has ramdisk in the boot partition (so we need to patch boot.img).
- Has a separate vbmeta partition (do not check the Patch vbmeta in boot image option).
Once you have patched the boot.img file, download the patched file to the PC using adb (the name will be different):
adb pull /sdcard/Download/magisk_patched-24200_QeQ7M.img
Flash the patched boot.img and disable verity
From normal system, reboot the phone into fastboot mode:
adb reboot bootloader
In fastboot mode you can flash-back the patched partition and re-flash vbmeta.img with verity disabled:
fastboot flash boot magisk_patched-24200_QeQ7M.img
fastboot flash vbmeta --disable-verity --disable-verification vbmeta.img
fastboot reboot
Special Modes
Android Boot Menu
The standard method to access the Android Boot Menu does not work: holding down the Volume Up and Power buttons untill vibration, does nothing. If you wait enough, it boots in standard mode.
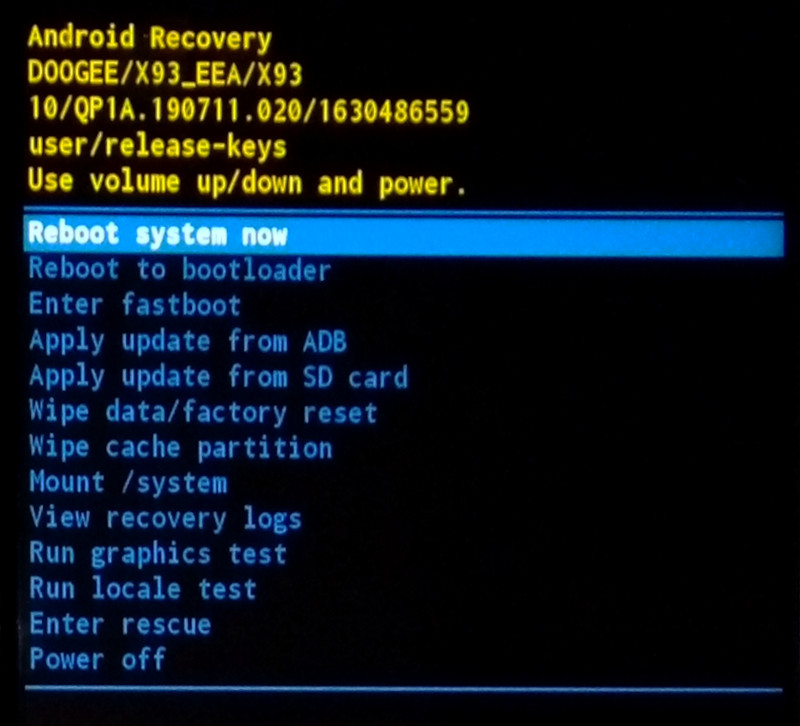
Recovery
To enter the Recovery Menu issue the adb reboot recovery command from a PC connected to the USB cable (it requiers the USB debugging option enabled).
Use the Volume Up and Volume Down buttons to highlight the choice, confirm with Power.
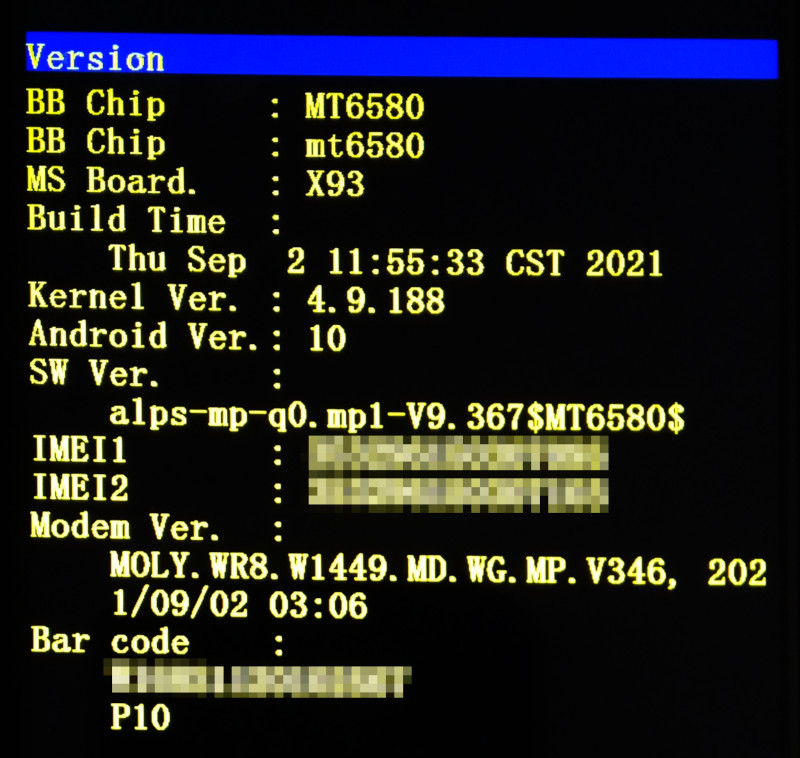
Factory Mode
To enter the Factory Mode:
- Turn off the phone.
- Press the Volume Down along with the Power buttons for about 4 seconds, untill the Doogee logo appears.
- Select item with Volume Down key.
- Confirm choiche with Power button.
- Go back with Volume Up.
Here you can see the Version screen:
Fastboot Mode
Issue the adb reboot bootloader command from a PC connected to the USB cable (it requiers the USB debugging option enabled).
Android Fingerprint
~$ getprop ro.build.fingerprint
DOOGEE/X93_EEA/X93:10/QP1A.190711.020/1630486559:user/release-keys
Termux:API problems
On this phone I experienced a Termux:API problem. As far as I understand it is a mix of power saving features (the DuraSpeed settings) and the specific Android release of this phone which prevents the autostart af apps at bootstrap.
It seems that some steps in the right way to solve the problem are explained in this issue #447 comment and in this page Widgets not working after restart.
A partial workaround consists basically in installing the MagiskHide Props Config module into the Magisk app, then execute a command line procedure which will create a Magisk boot script. That script will use Magisk resetprop tool to change on the fly two options in /system/build.prop Android file.
Download the MagiskHidePropsConf-v6.1.2.zip file and install it from the Magisk app (Modules⇒ Install from storage). You can find more info about the MagiskHide Props Config module here: MagiskHide Props Config - SafetyNet, prop edits, and more.
From the Termux command line verify that ro.hct_autostart_manager and ro.freeme_freemanager properties are set to 1:
~$ getprop ro.hct_autostart_manager
1
~$ getprop ro.freeme_freemanager
1
You can also check the /system/build.prop file using root privileges:
~$ tsu
.../files/home # cd /system
/system # grep freeme_freemanager build.prop
ro.freeme_freemanager=1
/system # grep hct_autostart_manager build.prop
ro.hct_autostart_manager=1
Using the props command line tool (provided by the MagiskHide Props Config module, which requires root permissions), change that properties to 0 at post-fs-data stage.
tsu
props ro.freeme_freemanager 0
props ro.hct_autostart_manager 0
Here it is the interactive output of props:
MagiskHide Props Config v6.1.2
by Didgeridoohan @ XDA Developers

=====================================
 ro.freeme_freemanager
=====================================

This will set ro.freeme_freemanager to:

0

The currently set value is:
1
Please enter the new value.

Pick an option below to change
what boot stage the prop will
be set in, or set/reset a delay:

1 - Default (current)
2 - post-fs-data
3 - late_start service
4 - Both boot stages
d - Delay

Do you want to continue?

Enter y(es) or n(o)
or an option from above: 2
Once rebooted, you can confirm that the properties were changed:
~$ getprop ro.hct_autostart_manager
0
~$ getprop ro.freeme_freemanager
0
This workaround is not sufficient, you have also to disable DuraSpeed at all (with Termux:API only version 0.50.1 it is not possibile to disable it for the app only). After a reboot you have to enable and then disabled DuraSpeed again.
Termux:Widget problems
It is not possibile to add the Termux:Widget to the home screen. To do so the Termux app needs the permission to draw over other apps, starting with Android 10. On this phone it is not possibile to grant this permission to the Termux app, the operating system denies that.


