Table of Contents
Rooting the Blackview BV5300 Android Phone
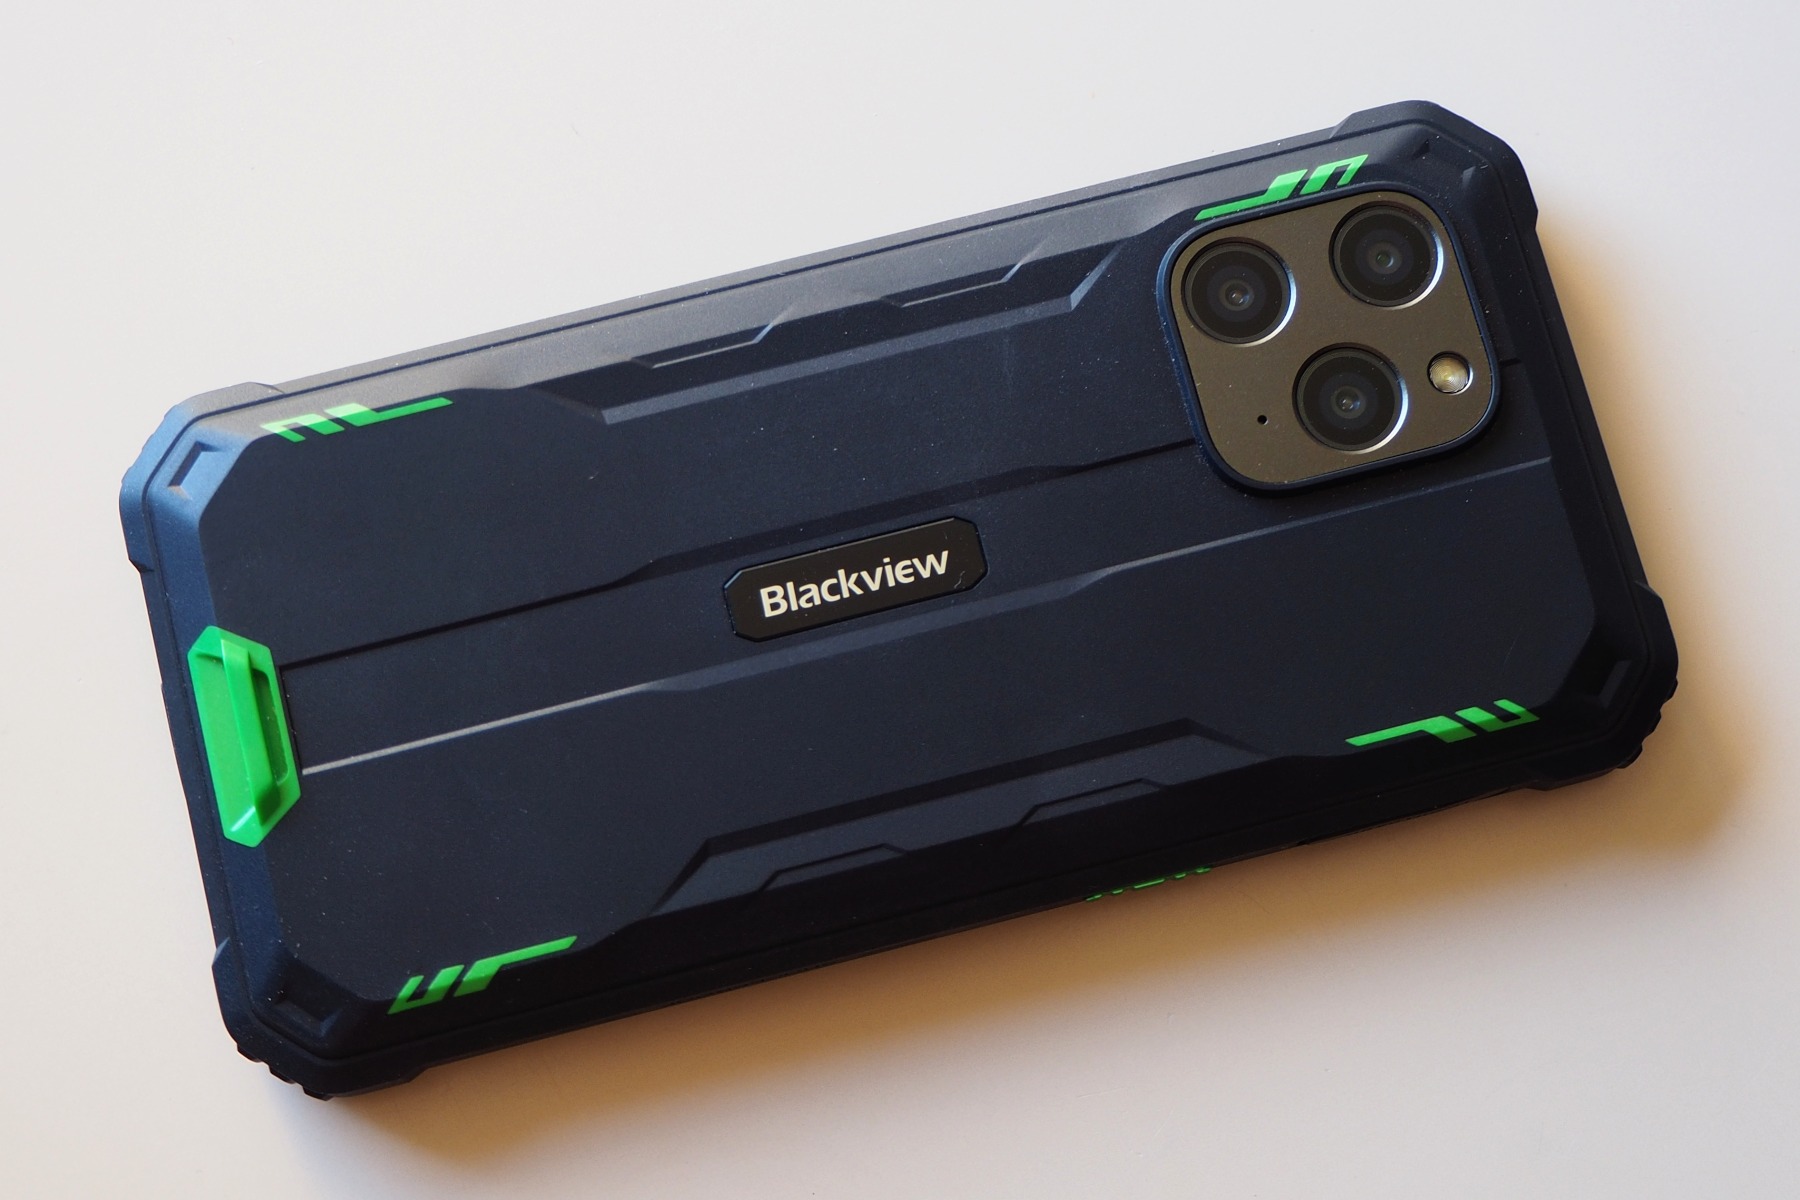
I purchased this phone from Amazon in August 2023 for about 113 €, to use as GPS satellite navigation system on the motorbike.
| Model | Blackview BV5300 |
|---|---|
| Size | 162.5 x 79.5 x 16.7 mm, weight 280 g |
| RAM | 4.0 Gb |
| CPU | MediaTek Helio A22 (MT6761) - ARM Cortex-A53 2.0 GHz, 4 core |
| GPU | PowerVR GE8300 |
| Internal Memory | 32 Gb |
| Screen | 6.1 inches, 720 x 1560, brightness 500 cd/m² typical |
| Battery | Non replaceable 6580 mA |
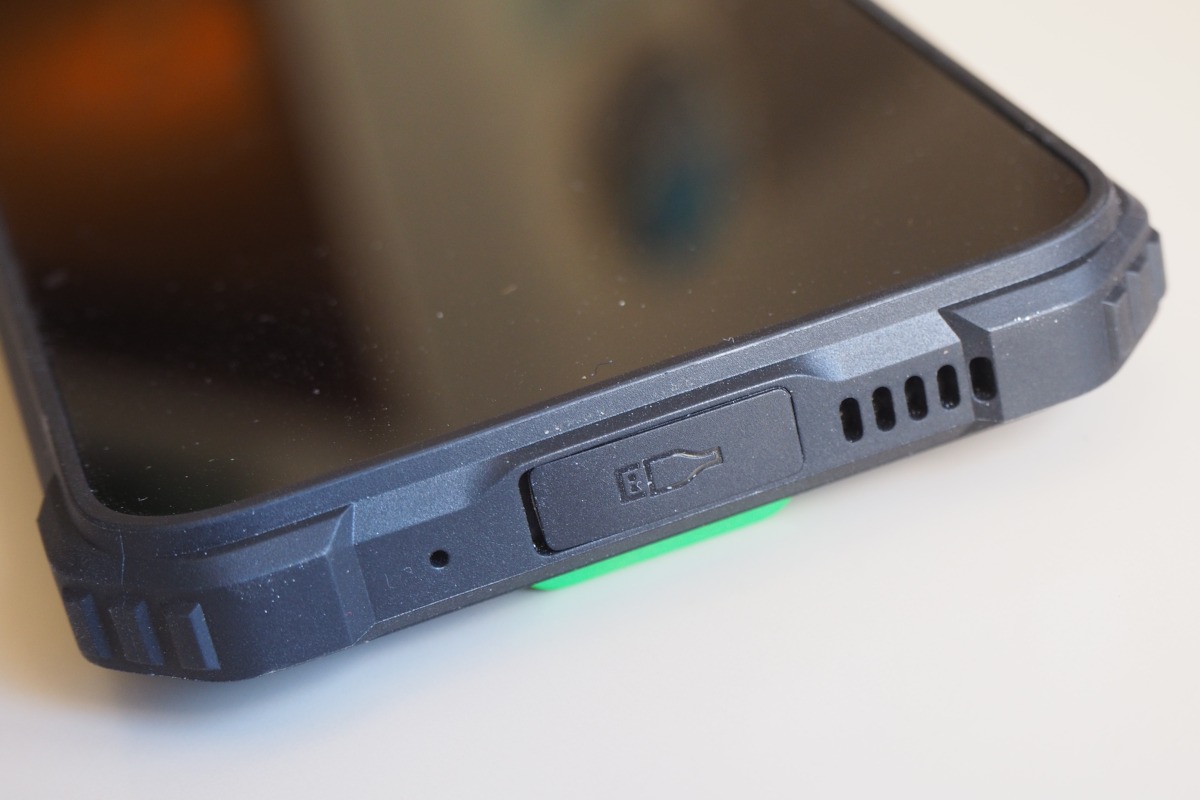
| Connector | USB C |
| Android version | 12 |
| A/B (Seamless) System Updates | No No boot_a or boot_b partitions fastboot getvar current-slot returned GetVar Variable Not found |
| Anti-Rollback Protection | Nofastboot getvar anti returned GetVar Variable Not found |
Getting the scatter file
A Scatter File is a .txt file which is used to describe parts of flash memory in an Android device which is running on a MediaTek’s MTK chipeset. Usually, such files are needed at the time of flashing firmware using tools like the SP Flash Tool.
Generally you find the scatter file for your specific device included into the firmware archive, but for the BV5300 I did not find any official firmware to download, nor the simple scatter file. Using the following procedure I managed to create my MT6761_Android_scatter_BV5300.txt (download below).
Tools required (GNU/Linux or Wine)
- SP Flash Tool v5.2228 for Linux: https://spflashtool.com/
- WwR MTK V2.51 for Windows (runs also in Wine): https://androidmtk.com/wwr-mtk-tool
Get the preloader and the GPT table from the smartphone
To create the scatter file you need to exctract two memory regions from the smartphone flash: the preloader and the partition table. You can use the SP Flash Tool to read them directly from the phone:
- Using SP_Flash_Tool_v5.2228_Linux:
- Run flash_tool.sh
- In the Download tab, Scatter-loading File: choose any scatter file for the MT6761 chip you have on your hard disk (this step is required to unlock the Readback function below).
- Click on the Readback tab and delete all the partitions defined by the scatter file you loaded.
- Add two regions to be read-back:
- Filename: preloader.bin
- Region: EMMC_BOOT1
- Start Address: 0x0
- Length: 0x100000 (1 Mb, but 256 kb should suffice)
- Filename: pgpt.bin
- Region: EMMC_USER
- Start Address: 0x0
- Length: 0x8000
- Click on the Readback button.
- Turn off the phone and connect it to the USB cable; the read-back should start automatically.
Create the scatter file using the WwR MTK v2.51 tool
The WwR MTK (Working with Rom MediaTek) program can create the scatter file by reading the partition table and the preloader image extracted in the previous step. The program is for the Windows operating system, but it runs also under the GNU/Linux Wine environment:
- Using WwR MTK v2.51:
- Unpack the program archive and enter the
WwR_MTK_v2.51directory. Execute wine WwR_MTK_2.51.exe (wait the 120 seconds pause or pay for the program). - Beside The file to be used, click Select file and open the pgpt.bin file. The Table of sections (Table chart of GPT) will be shown.
- Right click on the Table of sections and select Create scatter file from the context menu (wait the pause).
- The program requires to read the preloader image (the EMMC_BOOT1 region saved with SP Flash Tool); select the preloader.bin from the files.
- Specify the CPU type: MT6761. The progam will prompt to save the scatter file as MT6761_Android_scatter.txt.
- The program will launch the notepad editor to open the newly created scatter file.
This is the file that I obtained: MT6761_Android_scatter_BV5300.txt.
Rooting
If your phone has the build number BV5300_EEA_TE105_V1.0_20230705V11, you can download the following archive containing the already patched boot.img and vbmeta.img images. Obviously you must trust me that the images don't contain malware or alike: BV5300_EEA_TE105_V1.0_20230705V11_magisk-26.1-boot.zip. Whith the files contained into that archive you can directly jump to the last step of this guide: Flash the boot.img and the vbmeta.img custom images.
If you don't trust me, you have to execute all the steps by yourself.
The standard rooting procedure (see installing Magisk) failed; patching the boot image and flashing it back into the phone worked as expected, but flashing the vbmeta image with the --disable-verity and --disable-verification options did not work: the bootloader still checks the signature of the images and because the boot image is tampered, the phone enters a bootloop. The bootloop occurs also if you disable verity and verification into the original vbmeta image, keeping the original boot image.
The bootloop can be solved by:
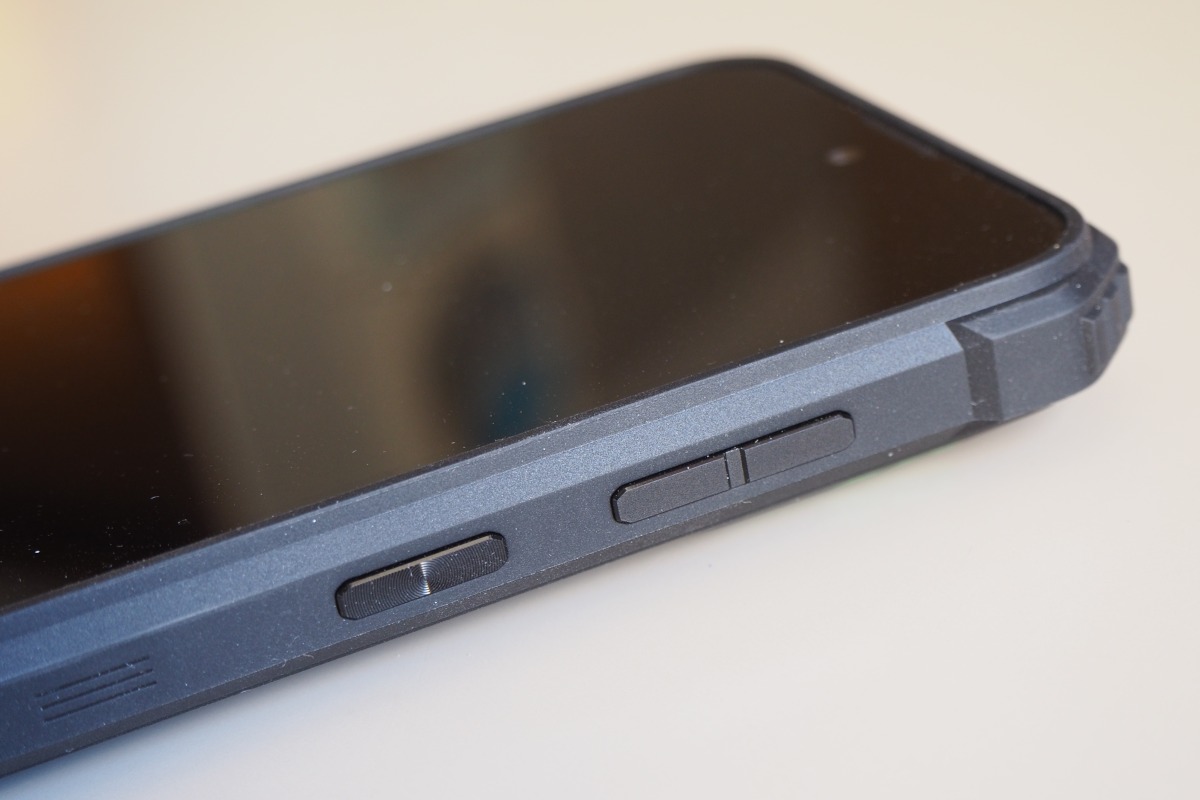
- Keep VolumeUp + Power keys pressed (do it at the begin of boot) to enter the Select Boot Mode.
- Select the FASTBOOT mode.
- Flash back the original boot.img and vbmeta.img images.
The rooting method that actually worked is resumed here:
- Enable the Developer options.
- Unlock the bootloader (does a factory reset).
- Download (read-back) the boot.img and vbmeta.img images from the phone using SP Flash Tool.
- Install Magisk into the phone and patch the boot.img file.
- Sign the patched boot image with an RSA public/private key.
- Create a custom vbmeta image where the the public key of the boot image is the one used in the previous step.
- Flash the patched boot.img and custom vbmeta.img with the phone in fastboot mode.
Tools required
- adb and fastboot
Command line utilities from the Android SDK, available for GNU/Linux as Debian packages. - SP Flash Tool v5.2228 for Linux
Graphical program to read-back and flash images from and to an Android device based on the MediaTek chipsets. Available in two versions: for the GNU/Linux and the Windows operating system. - WwR MTK V2.51
Graphical program to deal with MediaTek ROM (firmware) files. In this case it is used to parse the content of the partition table to create a scatter file. The program is for the Windows operating system, but it runs also under Wine and GNU/Linux. - Magisk v26.1
Android app to be installed into the device. It is used to patch the original boot image adding the su (superuser, to gain root privileges) program into the ramdisk. Then it is used also to manage the superuser requests made by other Android apps. - avbtool for Python 3
Command line tool from the Android SDK; it is used to work on Android Verified Boot images. - testkey_rsa2048.pem
2048 bit RSA public/private key. You can use your own key, but it is common practice to use the test key included into the Android SDK.
Download
| Tool | Local download | Official link |
|---|---|---|
| SP Flash Tool | SP_Flash_Tool_v5.2228_Linux.zip | spflashtools.com WARNINIG: The site is not managed by MediaTek; other sites exist, but none seems to be the official one. |
| WwR MTK | WwR_MTK_v2.51.zip | https://androiddatahost.com/ybd43 WARNINIG: It seems that it does not exist an offical site for WwR MTK; on the internet you can find many which have re-packaged the same archive, like this one: www.gsmfirmware.net. |
| Magisk | magisk-v26.1.tar.gz | https://github.com/topjohnwu/ |
| avbtool.py | avbtool.py | cs.android.com |
| testkey_rsa2048.pem | testkey_rsa2048.pem | cs.android.com |
Enable the Developer options
This is a standard procedure for the Android devices: go to Settings ⇒ About phone and tap 7 times on Build number. After that you will find a new menu item into Settings ⇒ System ⇒ Developer options.
Under Developer options enable the USB debugging item.
Unlock the bootloader
From Settings ⇒ System ⇒ Developer options enable the OEM unlocking. Then you must execute the actual unlocking from the phone fastboot mode.
WARNING: Unlocking the bootloader will cause a factory reset of the phone and the device enters the Orange state, i.e. the device at each bootstrap warns the user that it can't be trusted anymore because the boot code can be altered. The orange state cannot be reverted, it may be a problem if you want to have the phone serviced under warranty.
Attach the phone to the PC using the USB cable, tap Allow on the phone screen to permit the PC to control the phone via the Android Debug Bridge. Issue the following commands on the PC terminal:
adb reboot bootloader
Wait untill the phone enters the fastboot mode displaying the FASTBOOT prompt. Check that the device has the unlock ability and do the unlock:
fastboot flashing get_unlock_ability
    (bootloader) unlock_ability = 16777216
OKAY [  0.001s]
Finished. Total time: 0.001s
fastboot flashing unlock_critical
    (bootloader) Start unlock flow
OKAY [203.867s]
Finished. Total time: 203.867s
Now you can reboot the phone:
fastboot reboot
At bootstrap you will see the message about the Orange state and the phone does a factory reset. After the reset you need to enable again the Developer options and USB debugging.
WARNING: The Orange state cannot be reverted, you can try to re-flash the original images and re-lock the bootloader, but it is not guaranteed that the latter is possible.
Read the "boot" and "vbmeta" images from the phone
Execute the SP Flash Tool on your GNU/Linux PC (launch the flash_tool.sh script, you must have the permissions to access the /dev/ttyACM0 device, usually granted to the dialout group) and load the scatter file of the Blackview BV5300 using Scatter-loading file box.
Click the Readback tab: reading the info from the the scatter file you must add the data to read the boot and the vbmeta partitions:
| partition_name: boot | |
|---|---|
| file_name | boot.img |
| physical_start_addr | 0x1F800000 |
| partition_size | 0x2000000 |
| region | EMMC_USER |
| partition_name: vbmeta | |
| file_name | vbmeta.img |
| physical_start_addr | 0x1F9200000 |
| partition_size | 0xE00000 |
| region | EMMC_USER |
Once entered the data, click the Read Back button. Turn off the phone and connect the USB cable: the reading of the partitions should start automatically and the two files will be saved.
Install Magisk and patch the boot.img
Copy the file Magisk-v26.1.apk and boot.img to the smartphone storage using the adb push command. Then install the apk file (you must grant the install unknown apps permission to the Android file manager).
Launch the Magisk app on the phone and select Magisk ⇒ Install ⇒ Select and Patch a File: point the program to the boot.img file that you uploaded into the phone storage. After a little of work you should obtain a modified boot image saved into a file like /sdcard/Download/magisk_patched-26100_HlUfS.img. The image should contain a modified ramdisk, which will provide the su command (superuser) when the Android system is running, but actually without modifying the system partition.
Download the patched boot.img to your PC using the adb pull command.
Sign the patched boot.img
The Blackview BV5300 is based on Android 12 and the Android Verified Boot process cannot be disabled. So the patched boot.img must be signed with an RSA public/private key and the public part must be included into the vbmeta.img partition.
You need the avbtool.py tool (it is a Python 3 script, so you must have Python 3 installed); with that script you can get some info from the original boot.img:
python avbtool.py info_image --image 'boot.img'
The output will reveal the partition image size (33554432 bytes, which is exactly the size of the file) and that the public key algorithm is SHA256_RSA2048.
Then you need a 2048 bit RSA key; you can create your own, but it is common practice to use the one included into the Android SDK. Download the RSA key named testkey_rsa2048.pem.
With all this information, you can sign the file (actually add an hash footer inside the file). Beware that the file will be patched in-place, so make a backup copy before running the command:
cp 'magisk_patched-26100_HlUfS.img' 'magisk_patched-26100_HlUfS-signed.img'

python avbtool.py add_hash_footer \
    --image 'magisk_patched-26100_HlUfS-signed.img' \
    --partition_name 'boot' --partition_size '33554432' \
    --key 'testkey_rsa2048.pem' --algorithm 'SHA256_RSA2048'
Create and sign a custom vbmeta.img
Since Android Verified Boot in this device cannot be disabled, we need a properly crafted and signed vbmeta.img partition. Essentially the vbmeta partitions contains:
- An header with the overall signing hash.
- A list of partition names to be verified by the bootloader. Along with each name there is the public key to be used for the verification (where the private part was used for signing that partition).
- The public key whose private part was used for signing the whole vbmeta partition.
For the overall signing of the vbmeta partition we will use the same testkey_rsa2048 used to sign the boot partition; we need to extract the public part from it (all the keys to be used will be saved into a keys subdirectory):
python avbtool.py extract_public_key \
    --key 'testkey_rsa2048.pem' \
    --output 'keys/testkey_rsa2048_pub.bin'
NOTICE: All the public keys used here are saved into the AvbRSAPublicKeyHeader format, not the default PEM or DER formats used by openssl. This is a specific format for the Android Verified Boot process.
From vbmeta.img we need to extract all the public keys of the partitions that were not altered (i.e. all the partitions listed in it, except the boot one). Browsing the vbmeta.img file with an hex editor it is easy to spot each entry of the list; it is composed as follows:
- An empty space made up of 64 zero bytes.
- The name of the partition, e.g. vbmeta_system.
- A token of four bytes: 0x00 0x00 0x08 0x00 (this should be the default token for a 2048 bit key).
- The actual key in AvbRSAPublicKeyHeader format. A 2048 bit keys results into a 516 bytes chunk.
The vbmeta partition of the Blackview BV5300 contains the signing information about the following partitions:
- vbmeta_system
- vbmeta_vendor
- boot
With an hex editor we need to extrac only the keys for vbmeta_system and vbmeta_vendor including the initial 4 bytes token, thus creating two files of 520 bytes each. That key files will be used to create the signed custom vbmeta image, in fact the vbmeta_system and vbmeta_vendor images are unaltered, so we re-use the same public keys. I used the Linux program hexedit: with F9 and the arrows it is possibile to select a bytes region, F7 to copy and Ctrl-Y to save the copied region into a new file.
So we have three key files: keys/key_vbmeta_system.bin and keys/key_vbmeta_vendor.bin extracted from the original vbmeta image and keys/testkey_rsa2048_pub.bin that we will use to sign the custom boot image.
For the final recipe we need some other piece of information; launch avbtool.py to get info_image from the original vbmeta.img:
python avbtool.py info_image --image 'vbmeta.img'
What we need is the Flags value and the Rollback Index Location for each of the listed partitions. With that information we can compose the final command to create the custom and signed vbmeta partition:
python avbtool.py make_vbmeta_image \
    --key 'testkey_rsa2048.pem' --algorithm 'SHA256_RSA2048' --flag 0 \
    --chain_partition 'vbmeta_system:2:keys/key_vbmeta_system.bin' \
    --chain_partition 'vbmeta_vendor:4:keys/key_vbmeta_vendor.bin' \
    --chain_partition 'boot:3:keys/testkey_rsa2048_pub.bin' \
    --padding_size '14680064' --output 'vbmeta-custom-sign.img'
You should be able to understand each parameter: the flag (zero in our case), each partition name is followed by its Rollback Index Location and the name of the file containing the public key used to sign it, the padding size is the overall size of the vbmeta.img file.
We used the same Rollback Index Location used in the original vbmeta image. In teory an unlocked bootloader should accept any rollback index, while a locked bootloader will refuse to boot from lower indexes to prevent the downgrade of the firmware.
Flash the boot.img and the vbmeta.img custom images
Finally we have two files to be flashed into the phone: magisk_patched-26100_HlUfS-signed.img and vbmeta-sign-custom.img. Reboot the phone in fastboot mode and run the following commands from the PC:
fastboot flash boot 'magisk_patched-26100_HlUfS-signed.img'
fastboot flash vbmeta 'vbmeta-sign-custom.img'
fastboot reboot
Final check
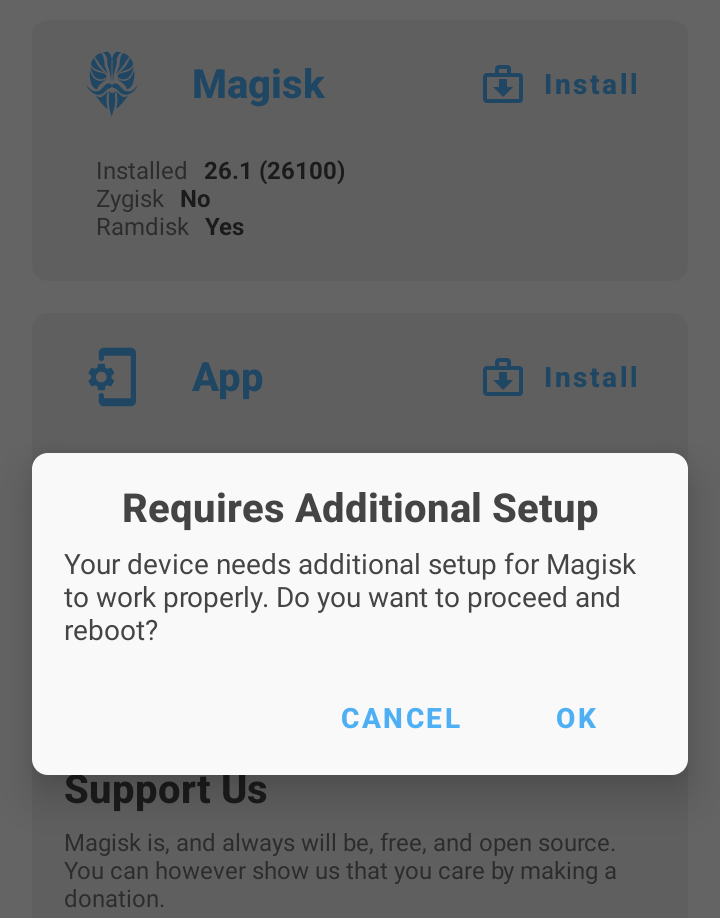 To check if superuser privileges were enabled, I installed the Termux app from the F-Droid repository. Into the Termux terminal I launched the su program. A pop-up from the Magisk app asked if I want to grant superuser privileges to Termux; request to which I agreed.
When I start the Magisk app a warning appears, stating that Magisk Requires Additional Setup. I don't know what is required by the app, but I checked that the basic functions are working, so I refused that request. Some users on the net reported that by accepting that requests, the superuser installation actually broke.
Useful commands
The adb and fastboot tools are provided by Debian packages of the same name. They require that the USB debugging option is enabled into the smartphone. Here are some usage examples:
Copy a file from the PC to the smartphone storage:
adb push Magisk-v26.1.apk /sdcard/Download
adb push boot.img /sdcard/Download
Copy a file from the smartphone storage to the PC:
adb pull /sdcard/Download/magisk_patched-26100_HlUfS.img .
Reboot the phone from normal system into fastboot mode (The prompt => FASTBOOT mode... appears on the phone screen):
adb reboot bootloader
In fastboot mode, flash the patched boot image:
fastboot flash boot magisk_patched-26100_aWX9D.img
In fastboot mode, flash the vbmeta image disabling dm-verity (causes a bootloop in the Blackview BV5300):
fastboot --disable-verity --disable-verification flash vbmeta vbmeta.img
In fastboot mode, reboot the phone into normal system:
fastboot reboot
